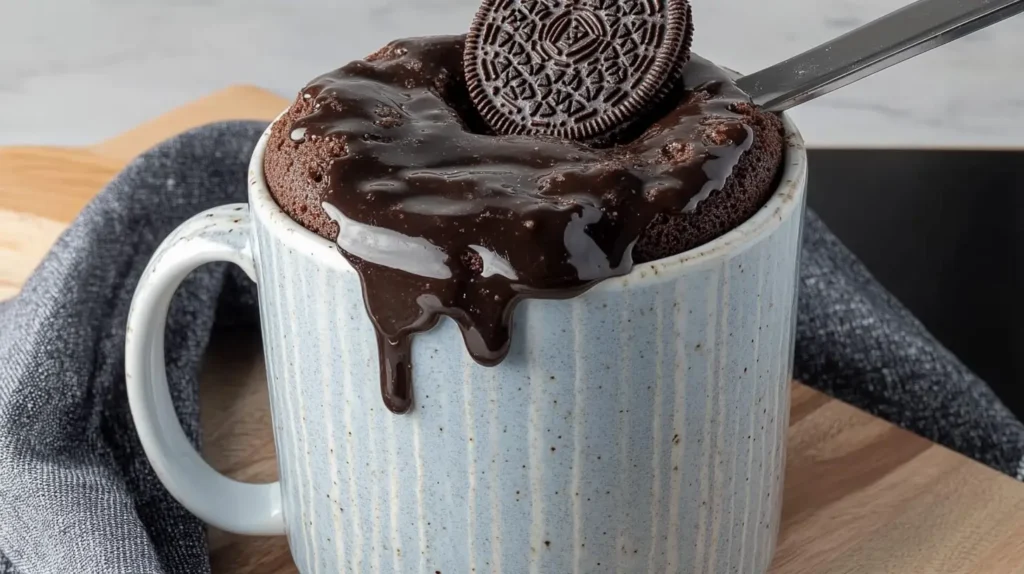
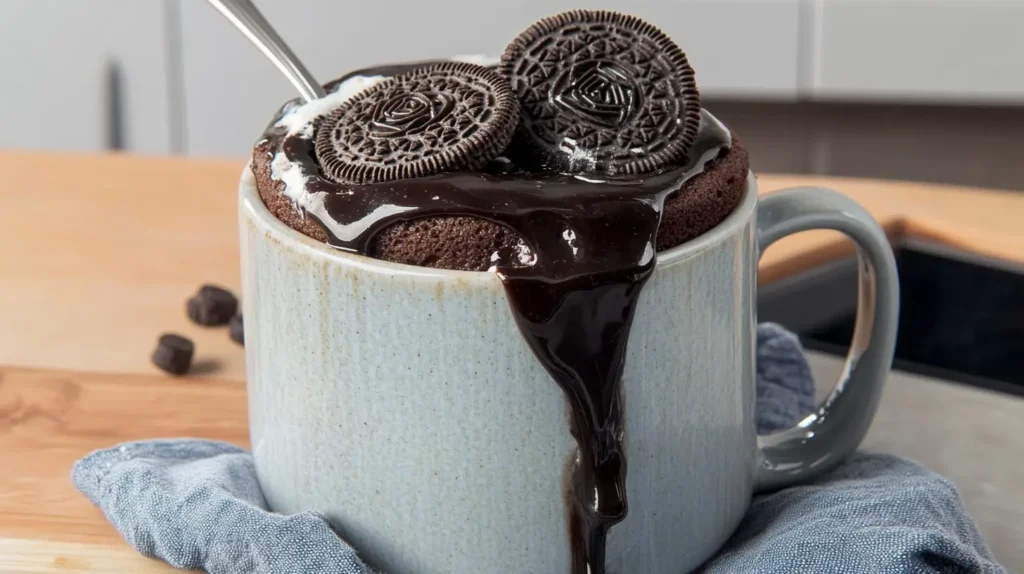
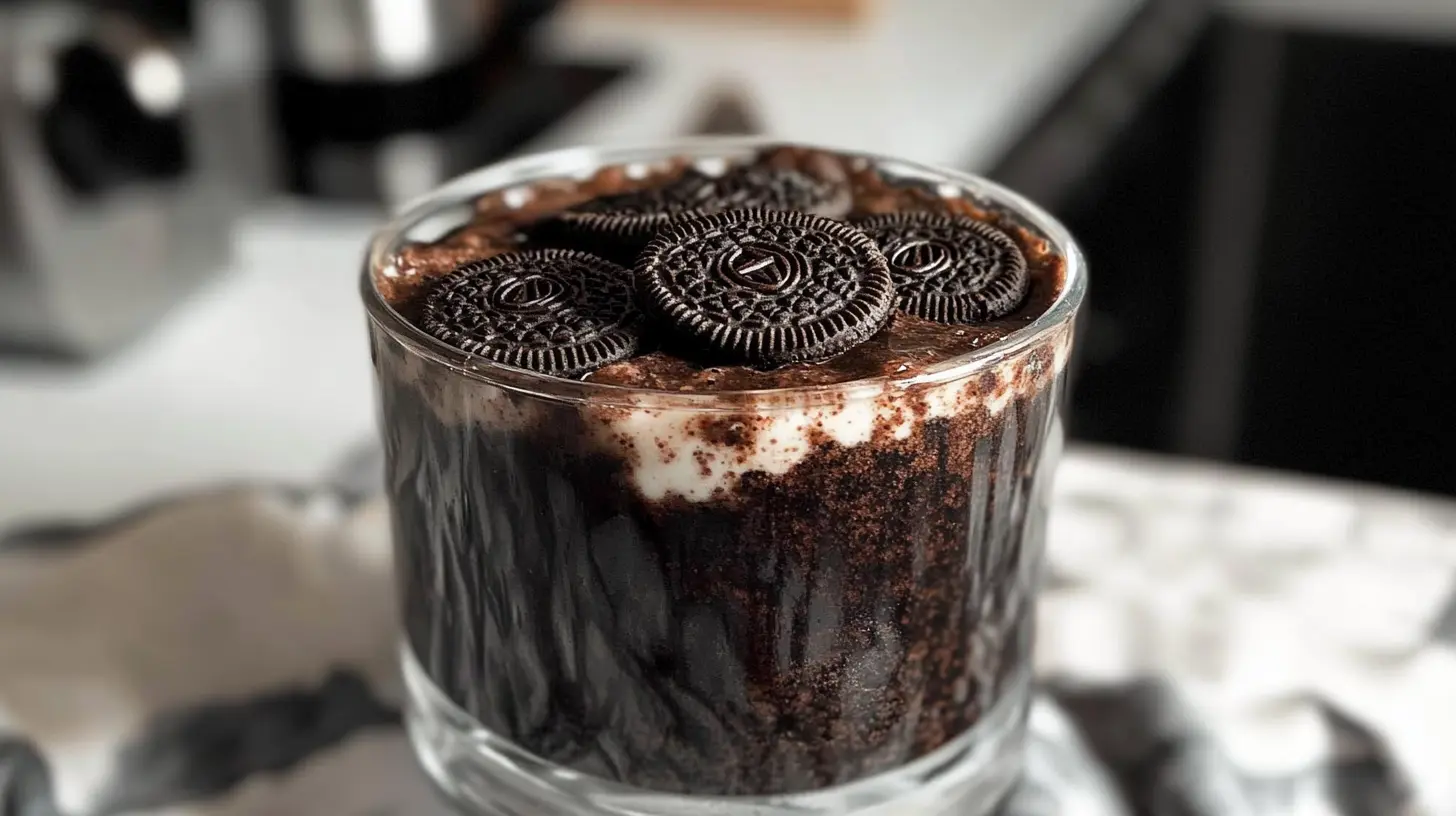
Introduction to Oreo Mug Cake
Craving something sweet but short on time? An Oreo mug cake is the answer! This delightful dessert is perfect for satisfying those late-night sugar cravings without spending hours in the kitchen. With just a handful of simple ingredients and a microwave, you can whip up a warm, gooey cake in under five minutes. Isn’t that amazing?
The best part is, it’s a single-serving treat. That means no leftovers to tempt you later—just pure, indulgent deliciousness right when you need it. Plus, who doesn’t love Oreos? This iconic cookie gives the cake its rich chocolate flavor, and when combined with a soft, moist texture, it’s nothing short of perfection.
Making desserts in a mug has become a trend for a reason. It’s quick, easy, and mess-free. There’s no need for fancy equipment or extensive cleanup. Whether you’re a seasoned baker or a complete beginner, you’ll find this recipe straightforward and rewarding. Get ready to dive into the world of mug cakes and discover why they’re such a hit!
Ready to make your first Oreo mug cake? Let’s gather the ingredients and get started!

Ingredients Needed
Before we start, let’s make sure we have all the ingredients ready. The beauty of an Oreo mug cake is that it requires only a few basic items, most of which you probably already have at home. Here’s what you’ll need:
| Ingredient | Quantity |
|---|---|
| Oreos | 4-6 cookies |
| Milk (any kind) | 4 tablespoons |
| Baking powder (optional) | 1/4 teaspoon |
| Sugar (optional) | 1 teaspoon |
| Chocolate chips (optional) | 1 tablespoon |
A few notes on the ingredients:
- Oreos: The classic chocolate cream-filled ones work best, but feel free to experiment with different Oreo flavors if you’re feeling adventurous.
- Milk: Regular dairy milk works great, but plant-based alternatives like almond or oat milk can be used for a vegan version.
- Optional Additions: Baking powder can make your mug cake fluffier, and sugar is only necessary if you prefer an extra sweet kick. Adding chocolate chips or a drizzle of Nutella on top can make this treat even more indulgent.
Once you’ve gathered these ingredients, you’re all set to make your mug cake. Let’s move on to the step-by-step instructions!

Step-by-Step Instructions
Making an Oreo mug cake is as easy as 1-2-3. Follow these simple steps to create a warm, gooey dessert that’s ready in minutes. No need for fancy tools or complicated techniques—just a mug, a spoon, and a microwave!
1: Crush the Oreos
- Take your 4-6 Oreos and place them in a microwave-safe mug.
- Use a spoon or the back of a fork to crush the cookies into fine crumbs. Make sure the pieces are small enough to mix evenly.
2: Add the Milk
- Pour 4 tablespoons of milk into the mug with the crushed Oreos.
- Stir thoroughly until the mixture forms a smooth, thick batter. It should resemble the consistency of cake batter. If it’s too thick, add a splash of milk.
3: Add Optional Ingredients
- If you’re using baking powder, sugar, or chocolate chips, now’s the time to mix them in. These additions can enhance the flavor and texture.
4: Microwave
- Place the mug in the microwave and cook on high for 60-90 seconds. The exact time depends on your microwave’s power, so keep an eye on it to avoid overcooking.
- Check if the cake is done by inserting a toothpick or fork. It should come out mostly clean.
Once it’s ready, let the cake cool for a minute or two before digging in. Doesn’t it smell amazing? Time to enjoy your creation!
Optional Additions and Variations
One of the best things about an Oreo mug cake is how customizable it is. You can stick to the classic recipe or jazz it up with creative additions to make it uniquely yours. Here are some ideas to inspire you:
Additions for Extra Flavor
- Chocolate Chips: Stir in a handful of chocolate chips for melty goodness in every bite.
- Nutella or Peanut Butter: Swirl a spoonful into the batter for a rich and creamy twist.
- Sprinkles: Add some colorful sprinkles to make it more festive—perfect for birthdays or celebrations.
- Whipped Cream or Ice Cream: Top your mug cake with whipped cream or a scoop of ice cream for an indulgent finish.
- For more single-serving dessert inspiration, check out this quick and delicious recipe for Small Batch Chocolate Chip Cookies. It’s perfect for those moments when you’re craving something sweet but don’t want to bake a full batch!
Dietary Variations
- Vegan Option: Use plant-based milk (like almond, soy, or oat) and check that your Oreo variety is vegan-friendly.
- Gluten-Free Version: Substitute gluten-free chocolate cookies for the Oreos.
- Low-Sugar Alternative: Skip the added sugar and try sugar-free Oreos for a lighter version.
Creative Twists
- Double-Stuffed Oreo Cake: Use double-stuffed Oreos for an extra creamy batter.
- Mint Chocolate Delight: Use mint-flavored Oreos for a refreshing twist.
- S’mores Style: Add mini marshmallows and graham cracker crumbs for a campfire vibe.
Feel free to experiment and create your own signature version of this quick and easy dessert. With so many possibilities, you’ll never get bored of making Oreo mug cakes!
Tools and Equipment Needed
Preparing an Oreo mug cake doesn’t require a full kitchen setup. You just need a few basic tools that are likely already in your home. Here’s everything you’ll need:
Essential Tools
- Microwave-Safe Mug: A sturdy, heat-resistant mug is key. Ensure it’s large enough to accommodate the batter and prevent overflow.
- Spoon or Fork: For crushing the Oreos and mixing the batter.
- Microwave: A standard microwave is perfect for cooking this cake quickly.
- Measuring Spoons: To measure the milk and any optional ingredients accurately.
Optional Tools
- Small Whisk: If you prefer a smoother batter, a whisk can help blend the ingredients more evenly.
- Toothpick or Skewer: To test if the cake is done. If it comes out mostly clean, your cake is ready!
- Small Plate or Napkin: Place the mug on this to catch any drips during cooking.
Tips for Microwave Safety
- Always use a mug labeled as microwave-safe.
- Avoid mugs with metallic designs or accents.
- Place the mug in the center of the microwave for even cooking.
By keeping the tools simple and easy to find, you can focus on the fun part: making and enjoying your mug cake! Ready for some handy tips to perfect your recipe? Let’s continue.
Tips and Tricks
Creating the perfect Oreo mug cake is simple, but a few tips and tricks can take your dessert to the next level. Whether you’re a first-timer or a mug cake pro, these suggestions will help ensure a delicious and foolproof treat every time.
Avoid Overcooking
- Mug cakes cook quickly, and a few extra seconds can make the texture dry. Start with 60 seconds and add 10-second increments as needed.
- Check the cake’s doneness with a toothpick. It should come out mostly clean but slightly moist.
Choose the Right Mug
- Use a large mug to avoid overflow as the cake rises during cooking.
- A ceramic or glass mug works best for even heat distribution.
Crush the Oreos Well
- The smaller the Oreo crumbs, the smoother your batter will be. Use a fork or spoon to crush them finely before adding the milk.
Customize Sweetness
- Taste the batter before cooking. If you prefer a sweeter cake, add a pinch of sugar.
Add Moisture
- If your mug cake turns out dry, try adding a teaspoon of milk to the cooked cake and letting it soak in for extra moisture.
Clean Up Easily
- To avoid a sticky mess, grease the mug lightly with a bit of butter or oil before adding the batter.
With these tips in mind, you’re guaranteed to create a mug cake that’s soft, flavorful, and irresistible. Let’s talk about the best ways to serve and enjoy your Oreo mug cake next!
Pairing and Serving Suggestions
Your Oreo mug cake is delicious on its own, but pairing it with the right accompaniments can elevate your dessert experience. Whether you’re serving it for a cozy night in or sharing it with friends, here are some ideas to make your treat even more delightful.
Top It Off
- Whipped Cream: A dollop of whipped cream adds lightness and creaminess to balance the rich chocolate flavor.
- Ice Cream: Pair your warm mug cake with a scoop of vanilla, chocolate, or cookies-and-cream ice cream for a heavenly combination.
- Chocolate Sauce or Caramel Drizzle: A drizzle of sauce enhances the cake’s sweetness and adds a touch of decadence.
- Crushed Oreos: Sprinkle a few crumbled Oreo pieces on top for added crunch and presentation.
Perfect Pairings
- Hot Beverages: Enjoy your mug cake with a hot cup of coffee, cocoa, or tea. The warmth complements the cake beautifully.
- Cold Drinks: A glass of cold milk or an iced latte pairs perfectly with the rich chocolate flavors.
Serving Suggestions
- Serve the mug cake directly in the mug for a rustic, cozy vibe.
- For a fancier presentation, gently remove the cake from the mug and place it on a small dessert plate. Garnish with your favorite toppings.
By combining these pairing and serving ideas, you can turn your simple Oreo mug cake into a memorable dessert experience. Let’s address some common questions about this recipe next!
Frequently Asked Questions (FAQs)
Here are some common questions about making an Oreo mug cake, along with helpful answers to ensure your dessert turns out perfect every time.
1. Can I use a different cookie brand instead of Oreos?
Absolutely! While Oreos give the classic taste, you can experiment with similar cream-filled cookies or even plain chocolate biscuits. Keep in mind that the flavor may vary slightly.
2. What if I don’t have a microwave?
No microwave? No problem! You can bake the mug cake in a preheated oven at 350°F (175°C) for 10–15 minutes. Make sure to use an oven-safe mug or ramekin.
3. How many Oreos should I use?
Typically, 4–6 Oreos work best for a single-serving mug cake. You can adjust the quantity based on your desired level of chocolate intensity.
4. Can I make it without milk?
Yes, you can substitute milk with water, but the cake may lose some of its creaminess. For a richer texture, try plant-based milk like almond, soy, or coconut milk.
5. Why is my mug cake too dense?
A dense cake could be due to overmixing the batter or overcooking it in the microwave. Stir just until combined and cook in short intervals to avoid this issue.
6. What are some low-calorie options?
To lighten the recipe, use sugar-free Oreos and low-fat or plant-based milk. Skip additional sugar and toppings for a simpler, healthier version.
Have more questions? Let me know, and I’ll be happy to help. Let’s move on to the conclusion to wrap up this delightful recipe!
Conclusion
Making an Oreo mug cake is one of the easiest and most satisfying ways to treat yourself to a quick dessert. With just a handful of ingredients and a few simple steps, you can whip up a warm, chocolatey delight in minutes. Whether it’s a midnight craving or a fun activity with friends, this recipe is a guaranteed crowd-pleaser.
What makes this dessert truly special is its versatility. From adding unique toppings to experimenting with different flavors, you can customize your mug cake to suit your taste. Plus, it’s single-serving, so you can enjoy it guilt-free without worrying about leftovers.
So, grab some Oreos, a mug, and your microwave, and get ready to create a delicious dessert experience that you’ll want to make over and over again. With its rich flavor and gooey texture, the Oreo mug cake is sure to become your go-to recipe for quick and easy indulgence.
Ready to try it for yourself? You’ve got all the tools, tips, and tricks to make it perfect. Go ahead and enjoy every bite of your homemade Oreo mug cake!


